Introduction:
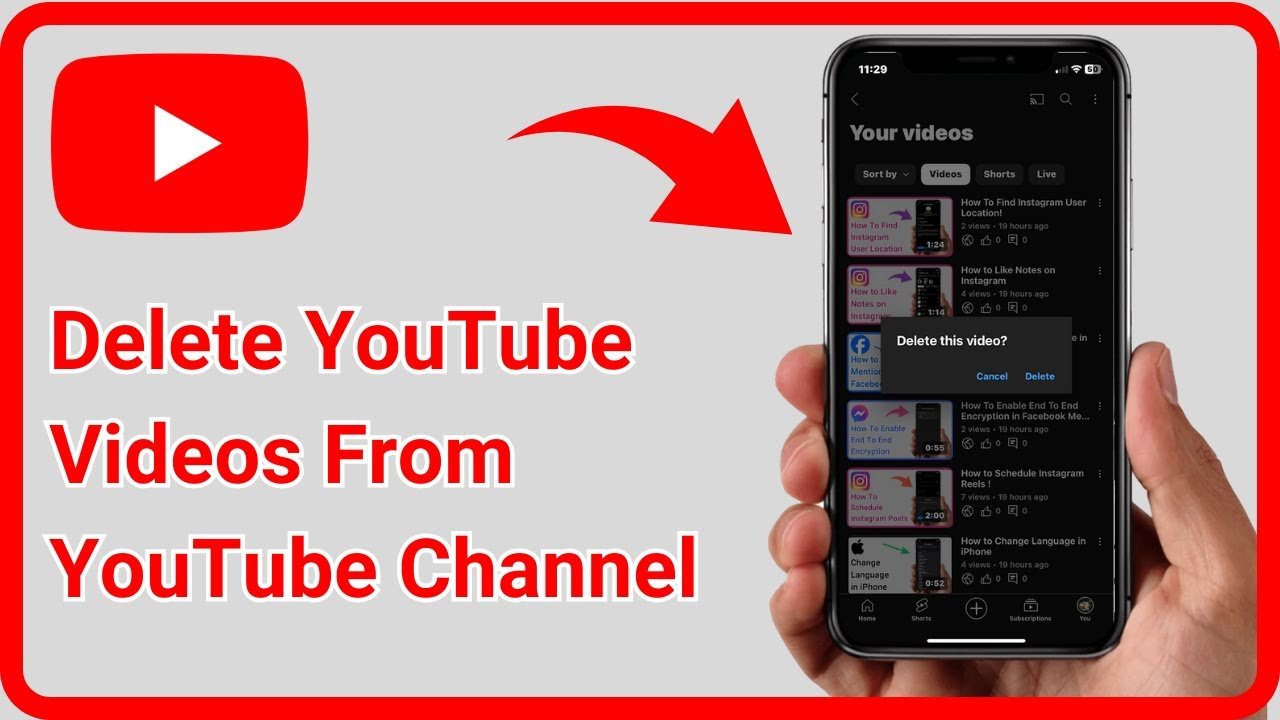
A Step-by-Step Guide on How to Delete Your YouTube Channel, YouTube, the world’s leading video-sharing platform, has become an integral part of our digital lives. From educational content to entertainment, it hosts a vast array of videos. However, circumstances may arise when you decide it’s time to part ways with your YouTube channel. Whether you’re rebranding, shifting focus, or simply seeking a fresh start, deleting your YouTube channel is a straightforward process. In this guide, we will walk you through the steps to permanently delete your YouTube channel.
I. Understand the Consequences:
Before embarking on the deletion process, it’s crucial to comprehend the implications. Deleting your YouTube channel will erase all your videos, comments, playlists, and subscribers. Additionally, you will lose access to your channel name, URL, and customizations. Make sure to download any content you wish to keep and inform your subscribers about your decision.
II. Sign in to Your Google Account:
Access your Google account, as YouTube is linked to it. Once signed in, navigate to the YouTube homepage.
III. Go to YouTube Studio:
Click on your profile picture in the top-right corner and select “YouTube Studio” from the drop-down menu. This will take you to the YouTube Studio dashboard.

IV. Access Settings:
On the left-hand side, find and click on “Settings.” Within the settings menu, select “Channel” from the options available.
Must read=used nintendo switch
V. Navigate to Advanced Settings:
Under the “Channel” tab, find the “Advanced settings” option. Clicking on this will take you to the advanced settings page for your YouTube channel.
VI. Delete Your Channel:
Scroll down until you find the “Delete Channel” option. Before proceeding, YouTube will prompt you to enter your account password for security purposes. Once confirmed, click on “I want to permanently delete my content” and select an appropriate reason for deletion from the drop-down menu.

VII. Review the Consequences:
YouTube will provide a summary of what will be lost upon channel deletion. Carefully read through this information to ensure you are aware of the consequences. If you are certain about your decision, click on “Delete My Content.”
VIII. Verify Your Identity:
To ensure the security of your account, YouTube may request additional verification. This usually involves entering a code sent to your registered email or phone number. Follow the on-screen instructions to complete this step.
IX. Final Confirmation:
YouTube will present a final confirmation message before proceeding with the deletion. Confirm your decision by clicking on “Delete My Content.” Once confirmed, your channel deletion process will commence.

X. Wait for the Process to Complete:
The deletion process may take some time, depending on the amount of content on your channel. YouTube will notify you once the process is complete. During this time, you will still be able to see your channel, but others will not.
XI. Consider Alternatives:
If you’re deleting your channel due to rebranding or shifting focus, consider alternative options. You can privatize or unlist videos, change your channel name, or modify your content strategy instead of opting for a complete deletion.
XII. Inform Your Audience:
Before and after the deletion, it’s essential to communicate with your audience. Post announcements on your other social media platforms, create a farewell video, or use community posts to let your subscribers know about your decision and any future plans.
Conclusion:
Deleting your YouTube channel is a significant decision that should be made after careful consideration. Understanding the process and its consequences is crucial to avoid any regrets later on. Whether you’re starting fresh or moving in a new direction, following this step-by-step guide will help you navigate the process smoothly. Remember to inform your audience and consider alternative options before taking the irreversible step of permanently deleting your YouTube channel.


